There are a lot of different options for writing. For collaborating, I prefer passing Word documents around or using Google Docs or even Office 365. However, my preferred method is writing in latex (or LaTeX) with some caveats. The biggest helper for me is the integration of a tool called write-good which highlights passive voice and filler word. I also like using the program Sublime Text IDE to write which allows me to integrate Zotero bibliographies and has a nifty full screen option ideal for a distraction free environment.
The biggest problem with writing this way is of course getting things all set up. And, of course, the flexibility in Sublime Text allows for any other number of infinitely flexible options. The output of a latex document is most often a PDF, which has its own challenges for tracking changes, but provides a lot of versatility as well.
This guide is how we write at mapping capital when using latex.
Install Software
Here are the pieces you’ll need.
- Install a Tex Distribution. I prefer the cross-platform MikTex.
- [Windows only] Install a PDF viewer that automatically updates. I recommend SumatraPDF.
- Install Sublime Text (download the latest version) and install your license if you have one (Help > Enter License). Note that you don’t need a license to run the software.
- To install additional packages in Sublime Text, you must also install
Package Control. To do so, open Sublime Text and press Cmd/Ctrl+ Shift + P, type “Package Control” in the text box that appears, then hit enter. You will be notified that Package Control is installed. - [Windows only] Install Perl, I recommend Strawberry Perl.
- Install Pandoc.
- Install Node.
- Install Zotero app with a Zotero Connector in the browser of your choice (both can be downloaded here).
- Install the Better BibTeX add-ons for Zotero.
Setup Sublime Text
Open Sublime Text (ST). You’ll want to install some packages that will make this whole escapade so much easier. The first is called LaTeXTools.
- To install packages, hit Cmd/Ctrl + Shift + P. The drop down that appears is your command central for ST.
- Type ‘install package’ and select “Package Control: Install Package” — and naming here is important.
- The new dropdown will be a list of packages that you can install. There are a lot, and we’re going to install several, but for now, type and select “LaTeXTools” to better integrate LaTeX with ST.
- I also recommend installing LaTeXSmartQuotes, Colorsublime, and SideBarEnhancements. You can do these using the same process as installing LaTeXTools.
Great! We’re almost ready to kick some ass. In ST, create a new document.
In the bottom right corner, you’ll see something like “Plain Text” — this tells us what “language” (syntax) this document is in. Click the language and change that to LaTeX > LaTeX.
Writing Good
Spell check and grammar are important in any setting. Let’s make sure
that we have this all setup.
‼️As of sometime in 2026, SublimeLinter and SublimeLinter-contrib-write-good cannot be installed through PackageControl in ST. These steps are to install them using git.
- Install git by using your favorite package manager.
- Once installed, open a command prompt and navigate to your package folder. On my Windows machine, it was “C:\Users\<username>\AppData\Roaming\Sublime Text\Packages”, and you can find yours by going to Preferences > Browse Packages … in ST.
- Type these two commands, one at a time, to install SublimeLinter. If ST opens, just close it.
git clone https://github.com/SublimeLinter/SublimeLinter.git
subl SublimeLinter
- Next type these two commands, one at a time, to install SublimeLinter-contrib-write-good. Again, if ST opens, just close it.
git clone https://github.com/ckaznocha/SublimeLinter-contrib-write-good.git
subl SublimeLinter-contrib-write-good
- Next we’ll need to install write-good so that we can SublimeLinter-contrib-write-good actually does something. We’re going to follow the instructions that just appeared to make sure that our grammar checker is setup (from https://github.com/ckaznocha/SublimeLinter-contrib-write-good). You’ll need to open a command prompt (Windows) or terminal (macOS/Linux) and install write-good (you’ve already installed Node/npm per the first section).
npm install -g write-good
- Let’s enable spell-checking by default. In the same empty document that you changed to LaTeX earlier, go to Preferences > Settings – Syntax Specific. Add this to the document on the right, which is the user’s settings.
{
	"spell_check": true,
}
Now in your blank LaTeX document (make sure the syntax is set to LaTeX > LaTeX) type the following with the typos:
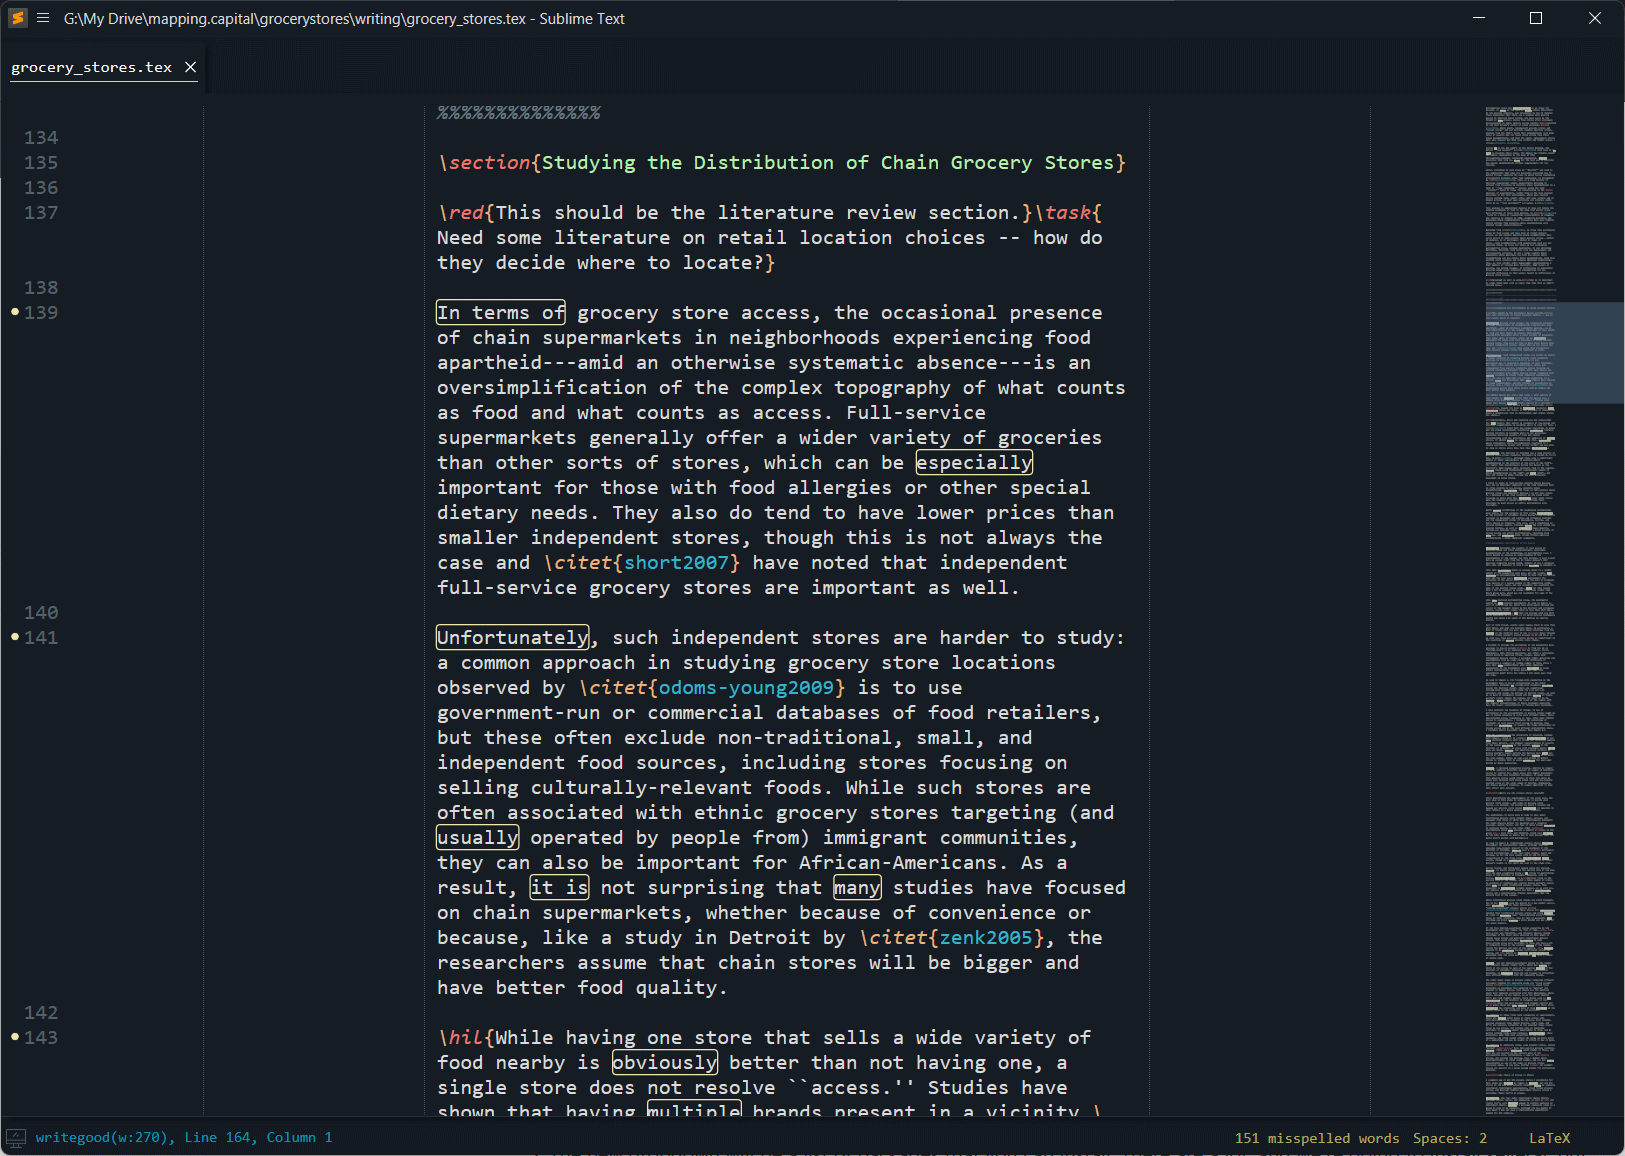
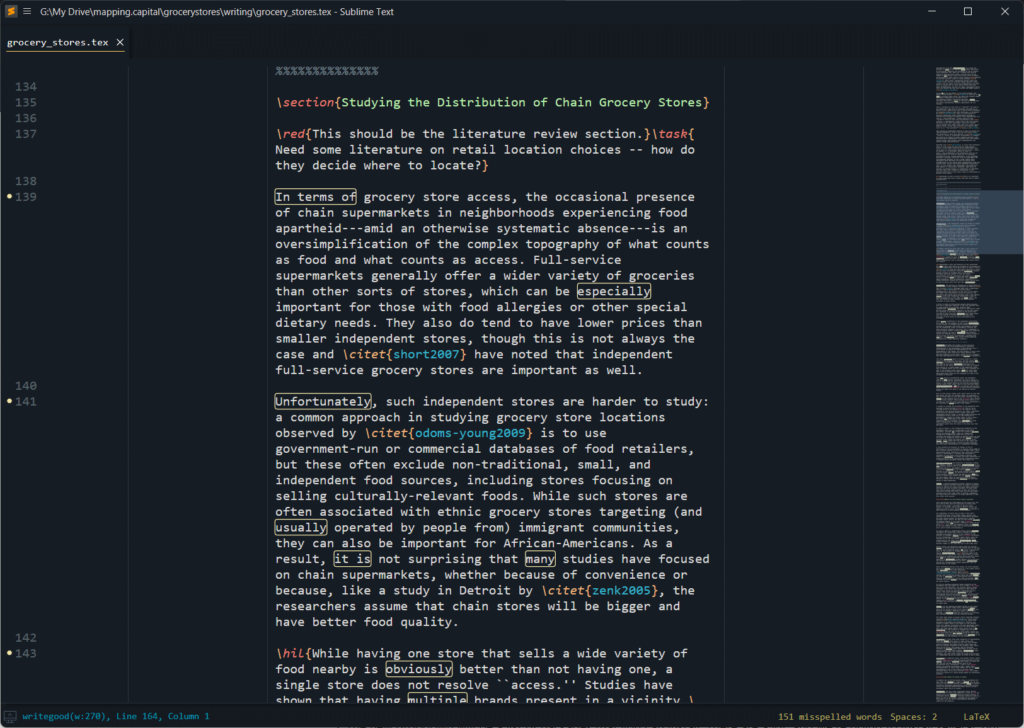
So the writing was improved with some simple stpes in ST4.
If everything went smoothly, you should see some yellow boxes telling you that your (my) grammar sucks and I misspelled steps (ignore that is says ST3 in the screenshot below instead of ST4).

If you put your cursor in the yellow box, the write-good plugin will bluntly tell you that you’re being wordy. Right-clicking on a word with red squiggles underneath it will allow you to add that word to your dictionary or suggest a spelling fix.
Rad, right? You’re almost there. Leave ST open and let’s move on to Zotero.
Setup Zotero
Install Zotero if you haven’t already. You’ll need to download the add-on (plugins) Better BibTeX. To install it, you’ll need to download the XPI files.
- In Zotero, go to Tools > Add-ons. Select the gear in the top right of the Add-ons Manager window, then select Install Add-on From File … and select Better Bib Tex xpi plugin file you downloaded.
- Select File > Export Library … and select Better BibLaTeX for the format and check the box for Keep Updated. I recommend putting this in your user folder. I keep mine in a Dropbox folder so that I can reference it from any computer. Remember where you store this. Mine is in D:/Dropbox/Zotero/zotero.bib so that I can reference it. Note that I don’t have spaces in the file path or file name.
- When the export is done, you can change specific settings in Edit > Settings > Better BibTeX.
Citations in Sublime Text
Go Back to ST.
Below is a minimal working example of a tex file. Copy this into your document and save it as a .tex file. Be sure to edit the path to your .bib file, using forward slashes in stead of backslashes. I have mine set explicitly, instead of relative path naming, and you can do that too in the future. For now, we just want to make sure this will work.
\documentclass[11pt]{article} % use larger type; default would be 10pt

\usepackage[style=authoryear,citestyle=authoryear,natbib=true,backend=bibtex]{biblatex}
\addbibresource{C:/Path/to/zotero.bib}

\title{Brief Article}
\author{}
\date{}

\begin{document}
\maketitle

\section*{First Section}
This is some basic text.

\printbibliography
\end{document}
With the document saved, let’s try the citation prompt. In the First Section area, type \cite then type an open squiggly bracket { and a prompt should show up. Here’s what happened when I start to type “kosciel” which brings up the option to cite this work.

If I hit enter, it will automatically place the citation in the document.
I also use the natbib citation backend, which I prefer to use for the citation commands. There are different commands for citing with a author-year in a paragraph, just the author, just the year, etc. I find that Overleaf has a good write-up citation commands.
Pay attention to the notification area at the bottom of the screen. If the pop-up does not work, then open the Command Palette and select LaTeXTools: Update bibliography cache. If it succeeds (see notification area), then things should work. If it doesn’t, go to View > Console and look for hints. For me, this sometimes happens if an entry in Zotero doesn’t meet strict bib file format. For example, having multiple authors listed in a single author field.
Building Your Article
Hit Ctrl+B (Command+B on Mac) to build your article. For me, sometimes I need to be explicit about which build I use. So the first time I open a project, I go to Tools > Build With … > Compile PDF – Basic Builder with PdfLaTex. Then future builds with Ctrl+B work. Or you can make the Basic Builder default by going to Preferences > Package Settings > LaTeXTools > Settings and use this setting:
// Settings in here override those in "LaTeXTools/LaTeXTools.sublime-settings"
{
	"builder": "basic",
}
Congratulations!
You can rebuild the document at any time and ST will overwrite the PDF.
Niceties
I like to format my tex files to look nice. With a tex file open, go to Preferences > Settings – Syntax Specific. Here is my settings file:
// These settings override both User and Default settings for the LaTeX syntax
{
	"spell_check": true,
	"rulers": [-5,90],
	"tab_size": 2,
	"translate_tabs_to_spaces": true,
	"word_wrap": true,
	"wrap_width": 85,
	"draw_centered": true,
	"line_numbers": true,
}
Note the gutters and lines.
I also like to write in Distraction Free Mode (Shift + F11). Here are my settings for that file (similar, but different than the syntax one), which is under Preferences > Settings – Distraction Free.
{
	"rulers": [-5,90],
	"word_wrap": true,
	"wrap_width": 85,
	"spell_check": true,
	"draw_centered": true,
	"line_numbers": true,
}
Let me know what you think!